Splinterlands Battle Mage Secrets - Melee Mayhem With Tarsa

Greetings Splinterlands Mages! It's time to try brand new dynamic strategies, fueled by rage and sparks of rebellion. Let's enjoy the Melee Mayhem ruleset, where the big bad melee units can attack from any position.
It's time to use the hulking monsters and smashing powers for this one. Maybe now is the best time to add those Blodlust gladiators, and go above and beyond the close combat mayhem!
Big fan of bulky melee units, those that will hit you with a tree or hurdle a boulder on the enemies! The Melee Mayhem is the best time to flex the muscles, and I prepared not one... not two... but three glorious battles!
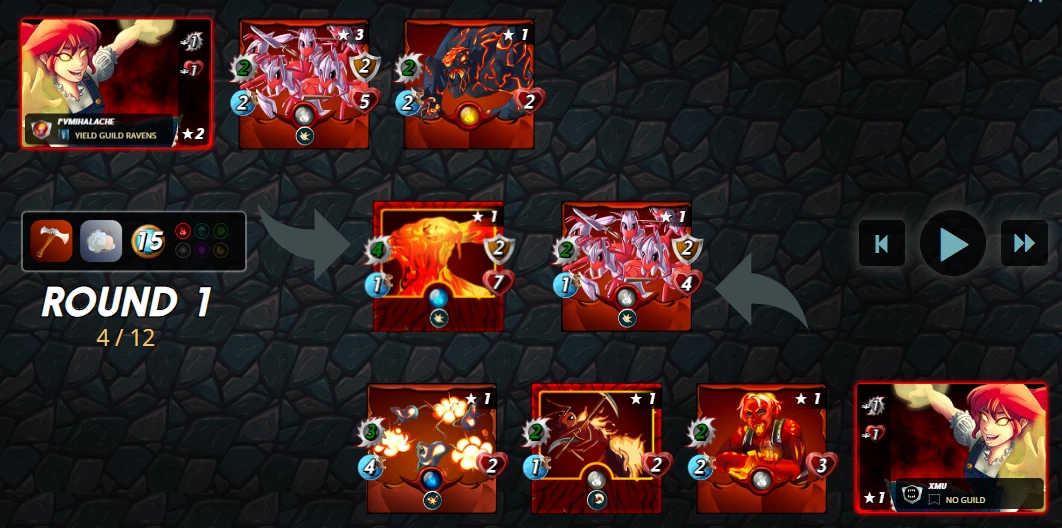
Blasting Through Melee Mayhem! Creating a good team with only 15 mana is a big challenge, and having Fogs of War on top of Melee Mayhem doesn't make it easier!
No Sneak, Snipe and Opportunity for the melee fighters, so my choice was to go heavy on Shield!
Tarsa: +1 Health & +1 Melee
Living Lava: Tank with Shield
Antoid Platoon: Melee with Shield
Scorch Fiend: Obviously ... melee!
I choose two monsters with shield, planning to reduce as much damage as possible. My enemy went for a Tarsa powered team with the Explosive Rats as a wild card... and the blast may do the difference!
I took down the Antoid Platoon and the Radiated Scorcher, but lost the Living Lava. I initially thought that the issue will be the Explosive Rats, but the Ant Miners was the game-changer card!
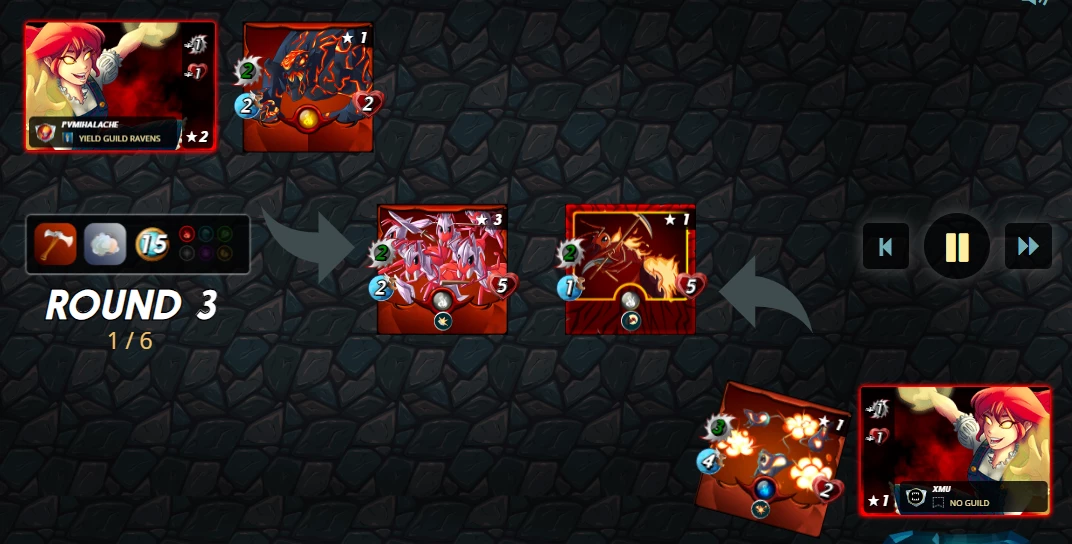
Was pointless! The scavenging ant acted as an impenetrable shield, defending the rat from attacks. This was not how I planned this duel!
The Blast did a fair amount of damage but the battle was lost because the Ant Miners got stronger with every casuality! Unlucky during the game or unlucky team set-up? See the full battle here!
Demoralizing Melee Mayhem I wasn't happy! I was demoralized by the outcome of the first battle and I had to improve!
That's why I have prepared another Melee Mayhem crazy battle! Not that easy to create a monster synergy with only 27 mana, but definetlty easier than with the 15 I had before.
The melee monsters could hit from any position, and this automatically set the focus on brute strength! The battle could be won by dealing more damage then my enemy... or making my enemy deal less damage than I do!
Tarsa: +1 Melee Attack & +1 Health
Living Lava: Tank with Shield
Disintegrator: Melee with Demoralize
Scorch Fiend: Legendary melee & zero mana card
Molten Ogre: Melee with Demoralize

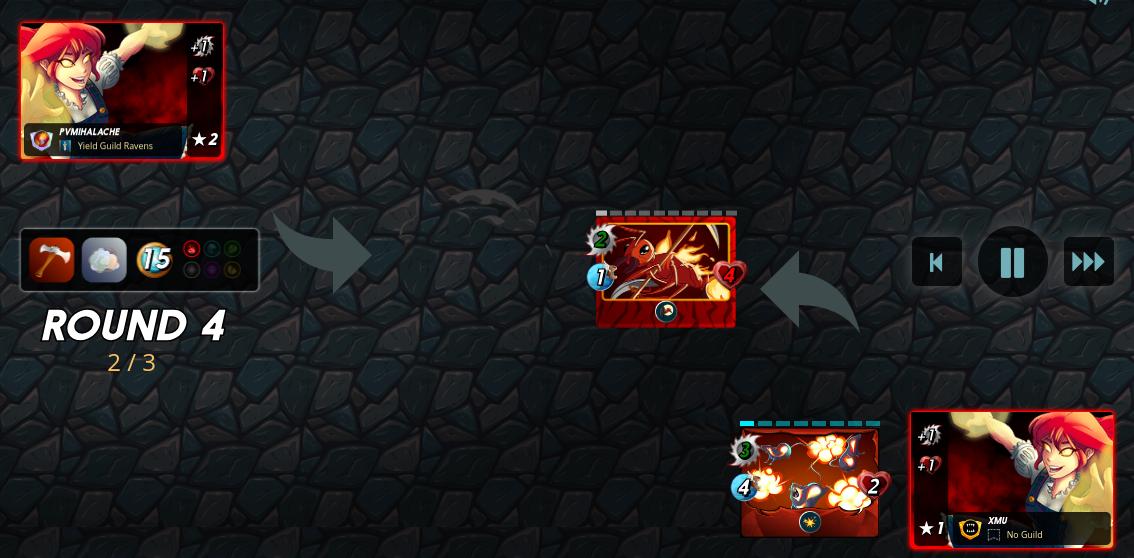
I used two monsters with Demoralize, making sure the opponents are dealing less damage, while boosting my physical damage with the fiery Tarsa. My health was reduced by the corrupted Thaddius Brood, but my summoner brought it back to the normal values.
The Cursed Windeku was taken down easily, even if the Thornes took the Scorched Fiend along! Meanwhile, none of the monsters were able to deal damage to the Living Lava! The Shield combined well with the Demoralize, and the 1 melee damage was pointless against my tank.
The Living Lava was untouchable even after the Disintegrator was nuked down by sneaky attacks. My battle plan maintained the course, as more unites were taken down by the Molten Duo! Power Level 9000! The Ogre and the Living Lava burned through the enemy lines, leading my army to victory! See the full battle here!

Third time lucky! It had to be Tarsa again, and another team of explosive fire units. Really explosive ... as the Exploding Rats were integrated in the team! Was the right choice for 27 mana cap and two battle-rules that complemented Melee Meyhem. Unprotected and Broken Arrows eliminated the ranged units from selection, and the armor was written-off!
Tarsa: +1 Melee & +1 Health
Iidri Fyre: Support with Taunt and Redemption
Antoid Platoon: Melee with Shield
Radiated Scorcher: Melee with Shatter
Scorched Fiend: Melee
Explosive Rats: Melee with Blast
Chalock Minotaur: Melee with True Strike

I was facing a Water Splinter team with boosted attack from the Demented Shark. Iidri Fyre was set as tank, and the Taunt will bring all the attention to her. Once she's down... Redemtion time! Meanhwile, the Rats hit and blasted both the Furious Chicken and the Torrent Fiend.
Isgald Vorst was my main concern, as he hit the Scorched fiend and unlseashed the Bloodlust. This fight will be about survival... survival of the fittest!

Isgald Vorst with another kill, and another bloodlust boost. The Coastal Sentry double-strike was also deadly, and the Antoid Platoon demise was quickly delivered.
Isgald Vorst again, as he dispached the Radiated Scorcher with a slice! But was he strong enough for an angry minotaur? Finally a better synergy for this battle! Third time lucky! See the full battle here!

Residual Income:
Play2Earn: Upland / Splinterlands / Doctor Who
Cashback Cards: Plutus Card / Crypto.com
Fountains: PipeFlare / GlobalHive ZCash
Creators bundle: Publish0x, Hive & Presearch
PVMihalache The Author - My Amazon Books
GrillApp - New Write2Earn Dapp
Claim Your Mode Network Points
UMA Ambassador/ Across Committee/ Horizen Ambassador
0 comments